
Overview
QR Studio AI is the web-based admin portal for your XR/VR training program — it's where you provision people, content, and access without ever touching the headsets directly.
It's the bridge to the headset: the portal issues a short login/access code (and matching QR) that a user enters in the VR application to launch their experience, and it controls what each person can do in-headset based on their role and assigned courses.
It also runs live group sessions across multiple headsets and pulls usage and reporting data back from those sessions.
Login
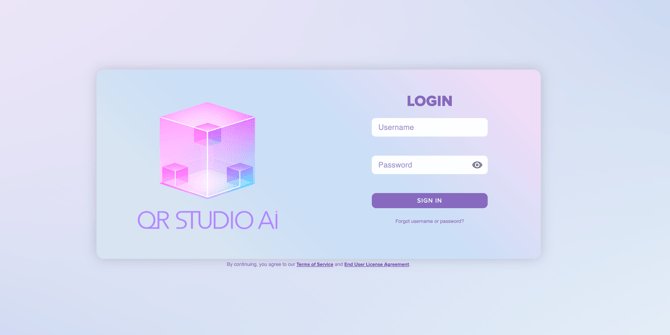
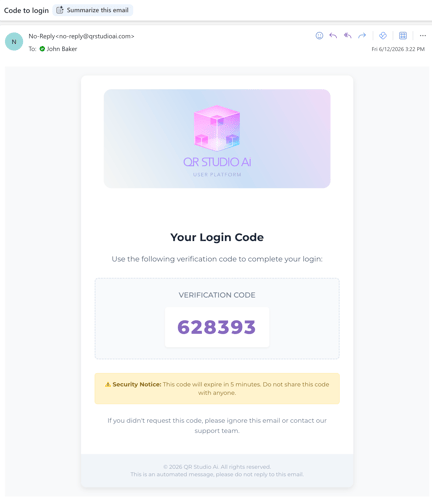
- Sign in with the email and password sent to you; as an admin you'll also get a one-time verification code emailed to you to finish logging in.
- That code expires after ~5 minutes — enter it on the login screen, or request a re-send if it lapses.
- Checking "Remember me" keeps trusted devices signed in for the duration set under Settings.
Home Screen
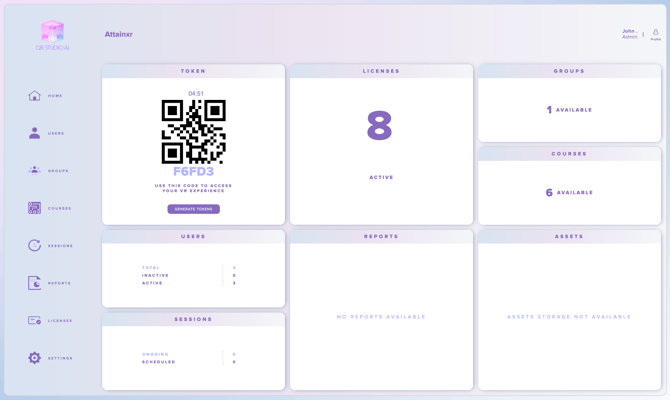
- Generate the rotating access token/QR code that users scan or type to enter the VR experience, with a countdown timer showing when it refreshes.
- Get an at-a-glance read on your environment: active Licenses, Groups, Courses, Users (total/active/inactive), and Sessions (ongoing/scheduled).
- Tap into Reports and Assets summaries from the same dashboard when those are in use.
Users Screen
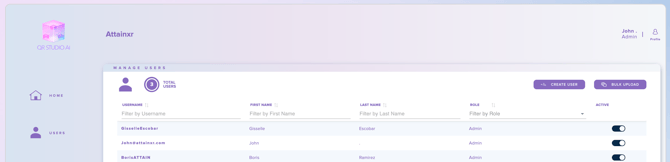
- Add people one at a time with Create User, or Bulk Upload a full roster using the provided spreadsheet template.
- Assign each user a role (Admin, Instructor, Learner, etc.) that determines their permissions on the platform and in-headset.
- Filter/sort by username, name, or role, and flip the Active toggle to grant or revoke access.
Groups
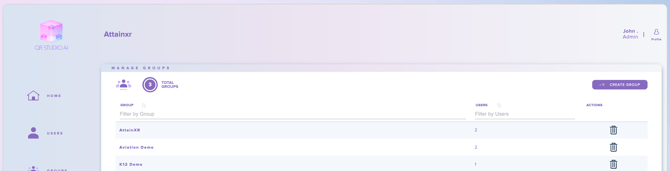
- Create named groups to organize learners — by cohort, client, or demo (e.g., AttainXR, Aviation Demo, K12 Demo).
- See the user count for each group at a glance, since groups are the unit you assign to courses and sessions.
- Remove groups you no longer need with the delete action.
Courses
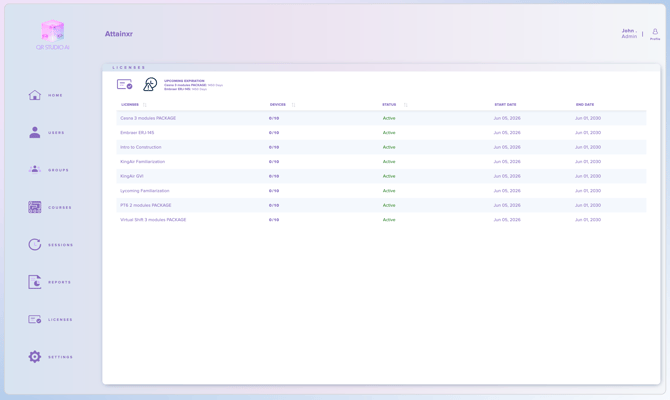
- Create a course by naming it, selecting the training Module, assigning an owner (and optional TA), and setting a start date.
- Optionally set an end date to cap how long assigned learners keep access — leave it blank for open-ended access.
- Attach one or more groups (or individuals); anyone added to that group later automatically inherits course access.
Sessions
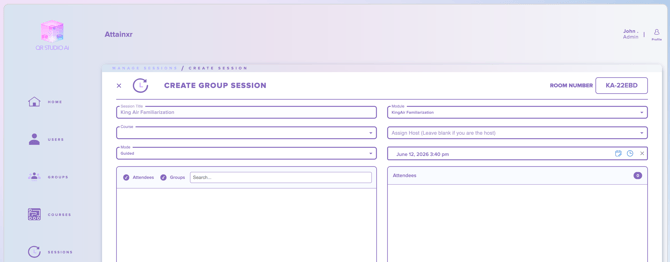
- Create a live group session tied to a module/course, with an auto-generated room number for headsets to join.
- Pick the session mode (e.g., Guided), assign a host, and schedule the date and time.
- Add attendees and/or whole groups so the right learners drop into the shared VR session.
Reports
- Pull usage and completion data on your learners — who has accessed which modules, session participation, and progress through assigned courses.
- Filter results by user, group, or course to review performance at the individual or cohort level.
- Export or share reports for record-keeping and to demonstrate training completion.
Licenses
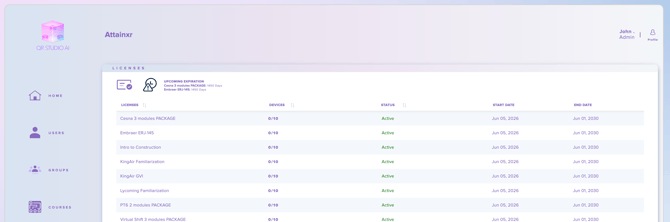
- Review every training-module license with its status, start/end dates, and device usage (e.g., 0/10 devices in use).
- Watch the Upcoming Expiration flags at the top so you can renew before access lapses.
- Confirm which modules are available to assign when you build courses and sessions.
Settings
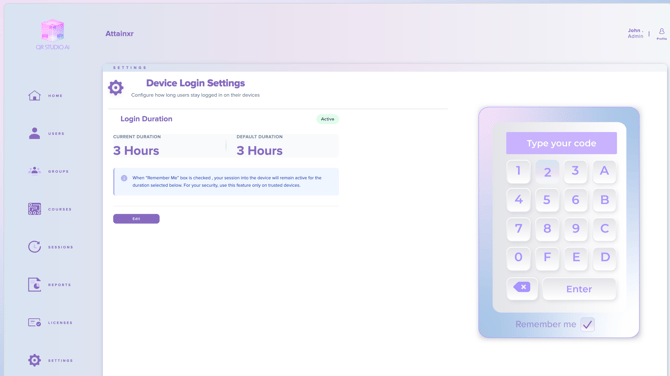
- Configure device login duration — how long a session stays active when "Remember Me" is used (default is 3 hours).
- Edit the current duration and apply it across devices.
- Keep the trusted-device guidance in mind: only use "Remember Me" on devices you control.